tiistai 28. marraskuuta 2017

Kaapin laihdutus 2 / A slimmer cabinet 2

Yläkaappi siis saatiin oikean kokoiseksi.
Mutta alakaappi, miten se saatiin tällaiseksi?
The top cabinet was ok now, how about the lower one? How did it end like this?


Alunperin alempi kaappi oli 18 cm leveämpi kuin ylempi kaappi.
Originally the lower cabinet was 18 cm broader than the upper cabinet.

Halusimme asentaa viinijääkaapin oikeasta kyljestä sisään, mutta sen ovi ei olisi auennut.
We wanted to install a wine fridge into the cabinet, but the door would not have opened.


 Kahvat oli liimattu kontaktiliimalla eivätkä mitenkään keskellä olleet.
The original handles were installed with glue. And not centered.

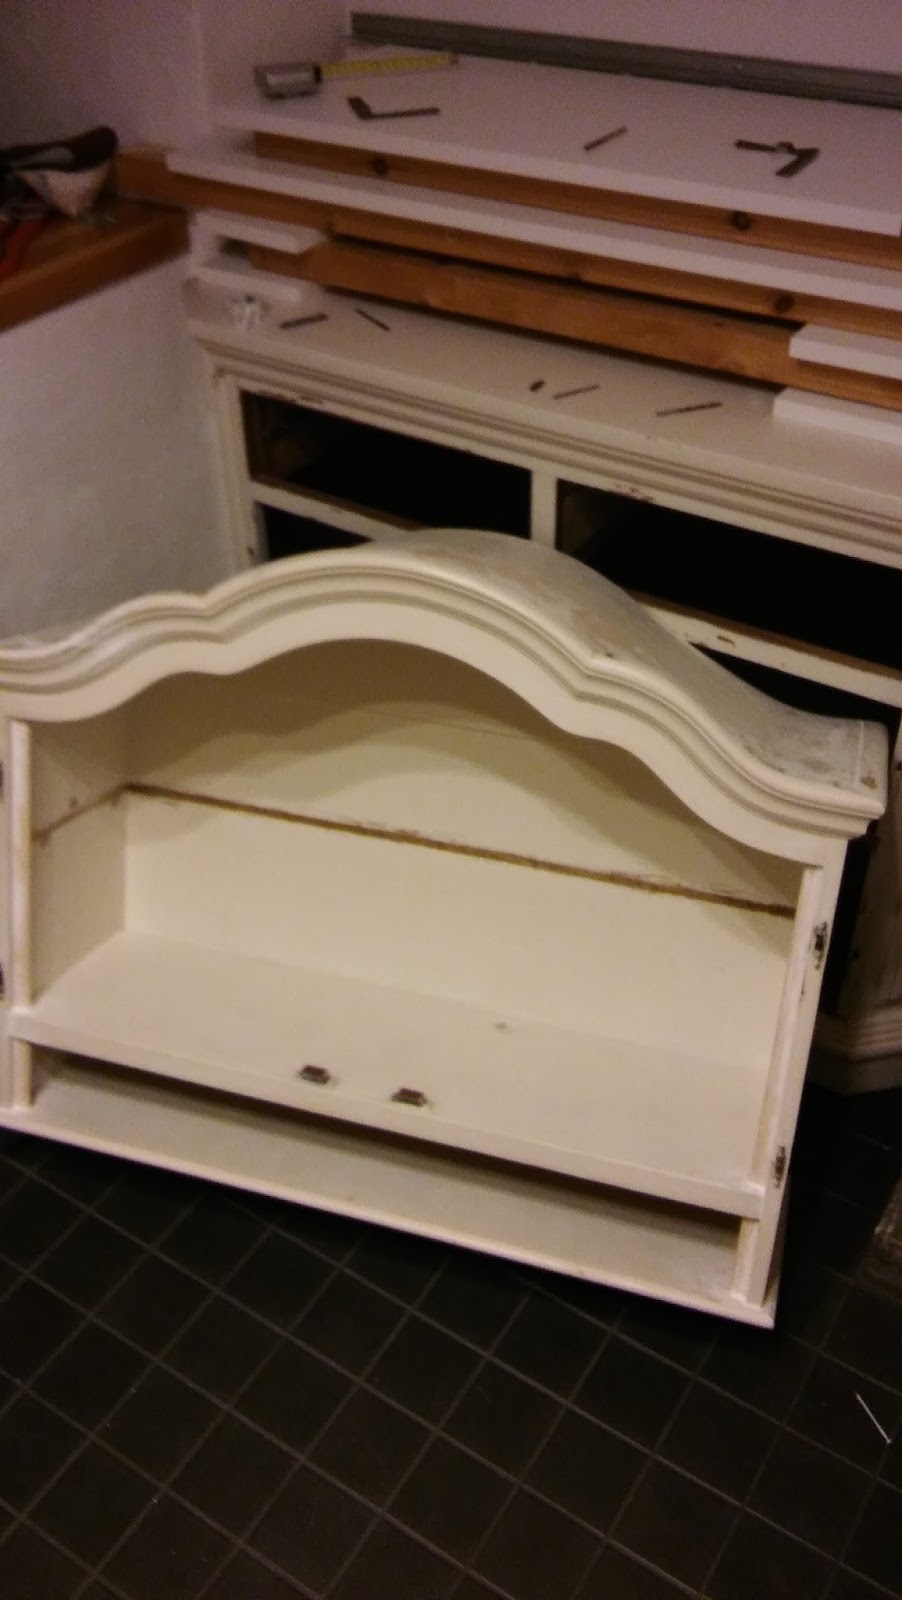
Aluksi purettiin kaikki pois alakaapista.
First the lower cabinet was emptied of everything.


 Alakaappia hienonnettiin vasemmasta laidasta mahdollisimman paljon.
The left side was reduced as much as possible.

 Mutta siitä huolimatta kaappia piti lyhentää.
Despite of that the cabinet needed to be shortened.
 Ja sitten vain sahaamaan.
I took the saw

 Ja kaapista lähti siivu pois.
and a part was sawn away. 

Sitten liimasin palaset yhteen.
Then I glued them together.
 Nyt kaappi oli oikean kokoinen.
Now it was the right size.


 Viinikaappia varten sahattiin tarpeeksi reikiä.
The wine fridge got it's holes.
 Edestä.
From the front.
Vetolaatikot ja toinen ovi piti myös muokata.
 Also the drawers and the other door needed shaping.

Pois sahattuja palasia.
Cut pieces.

 Alkaa jo näyttää käyttökelpoiselle.
Starts to look usable.
 Ja tältä työmaa näytti.
And this is how it looked on the other view.


 Lopulta se alkoi toimimaan.
It started to work finally.
 Takalaitaan lisäsin listaa seinän rappauksen suojaksi. Asensin myös pistorasian pöytälevyyn.
To the back of the table I installe protective moldings. Also electrics was installed.


 Viinikaapin tuulettimelle laitettiin tuuletusputki.
A ventilation tube was installed to the wine fridge.
 Viimeistelly ovet.
Completed doors.
Vielä siirto paikalleen...
And a push to the correct place... 


ja kaappi kaikkiaan toimii kivasti.
and the cabinet works nicely.

Kaapin laihdutus 1 / A slimmer cabinet 1

Tässä on lopputulos,
This is the result,

mutta miten siihen päädyin.
but how did I end up with that.

Katsotaan ensin ylemmän osan muotoilua.
Let's first see the top cabinet design.


Ostimme Saksasta kaapin, joka oli kaapin, joka oli vähän rouheassa kunnossa.
We bought a cabinet from Germany. The cabinet was a bit rough.


Maalaus oli tehty vähän niin ja näin, osa maalattu, osa ei.
The paint was so and so, not all was even painted. 

 Tästä halkaemasta emme pitäneet.
We did not like this crack.


Puinen hylly poistettin ja alakaapin päälle kasattiin niin paljon puuta, että saatiin yläkaappi oikealle kohdalleen.
The wooden shelf was taken away and wood was piled on the lower cabinet to lift the upper cabinet to a correct level.

 Vasemmalta laidalta piti vähän poistaa muotoja, että saatiin kaappi oikealle paikalleen.
From the left hand side we needed tostrip some moldings.

Kaappi oli tehty 1960 eli ei antiikkia.
The cabinet was made 1960, no antiques. 

 Nyt kaappi oli muuten paikallaan, mutta seinän epätasaisuuden takia jouduttiin taakse laittamaan levy.
Now the cabinet was in a correct position, but the wall was uneven and we needed to install some board to the back of the cabinet.
 Ura sähköille jätettiin levyyn.
A path for electrics was left.
 Levystä höylättiin keskikohta pois.
The center was carved away from the new board.
Metallilista kiinnitettiin seinään ja kaappi sen päälle.
A metal strip was installed to the wall and the cabinet on top of it. 
Sisälaidoille laitettiin listaa, jonka taakse tulisi valonauha.
To the inside of the cabinet new moldings were installed to hide the led strip.


Kaappia maalattiin useassa vaiheessa.
The cabinet was painted in many phases. 
 Lopulta se asennettiin seinään.
The final assembly.
Meillä sattui olemaan vähän lyhyt ja kapea lasilevy.
We had a short and narrow piece of glass. 
 Parilla muotolistan palasella, jotka maalattiin,
With a pair of moldings


sain lasilevyn hyllyksi ihan kaapin ylälaitaan.
I got it to the ceiling of the cabinet as a shelf.

 Uudet lasit oviin, peili taakse ja lasihylly keskelle sekä led-valot vielä tarvittiin.
New glasses to doors, mirrot to the back, a glass shelf and the led lights were needed.

 Ja kivalta näyttää. Mutta miten päädyttiin alakaapin kanssa näin kapoiseen ratkaisuun?
And it looks nice. But how is the lower cabinet so slim?